TreasuryLink Quick Tips
Scheduling a Report
-
Step 1: Select your report
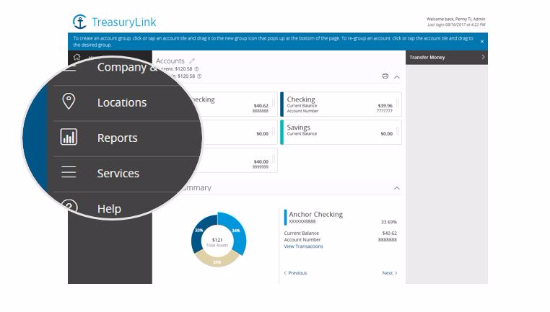
Navigate to “Reports” on the left menu. On the Reports Page, under “Create New Reports,” select the report you would like to schedule. You can run a report on demand, or set the report to run on a schedule going forward.
-
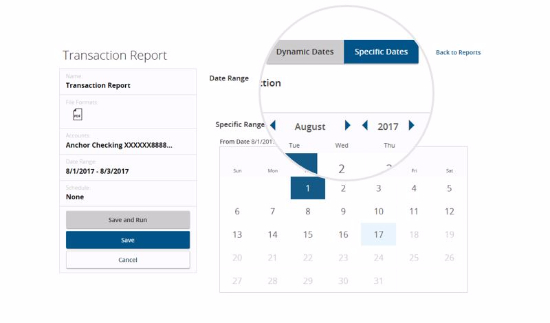
Step 2: Build your report
Select which accounts you would like to see in your report. You can run a report for one account, or all of your accounts. Select a date range for the report. You can select a Dynamic date – as in, last week or last month – or you can select a specific date.
-
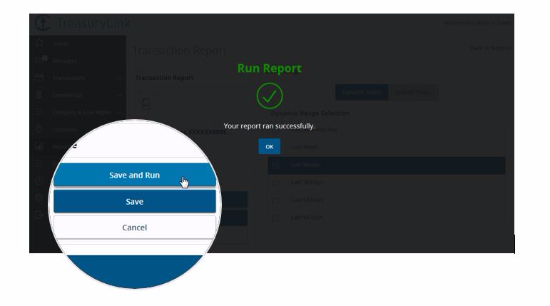
Step 3: Save and run your report
Click “Save and Run” to run your report one time, and to save it for the future. Or, navigate to “Schedule” and program the report to run weekly or monthly. If you don’t need the report right away, you can click “Save” and come back later to view your report after its scheduled run. Your report will now be listed on the Reports Page for you to click on and retrieve in one of the available formats.
Making an ACH Single Payment
-
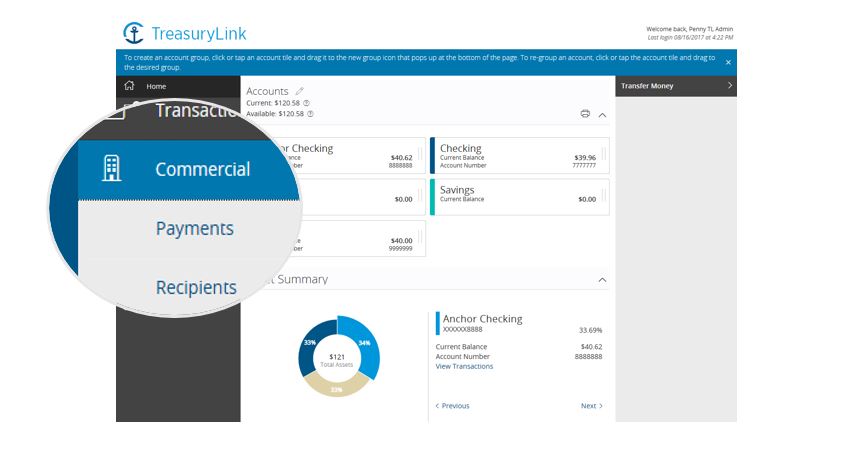
Step 1: Select your ACH Payment Type
Navigate to the “Commercial” menu on the left navigation pane and click on “Payments.” On the Payments Page, under “New Payment,” select “ACH Single Payment.” You can also make batch payments, as well as single receipts and batch collections.
-
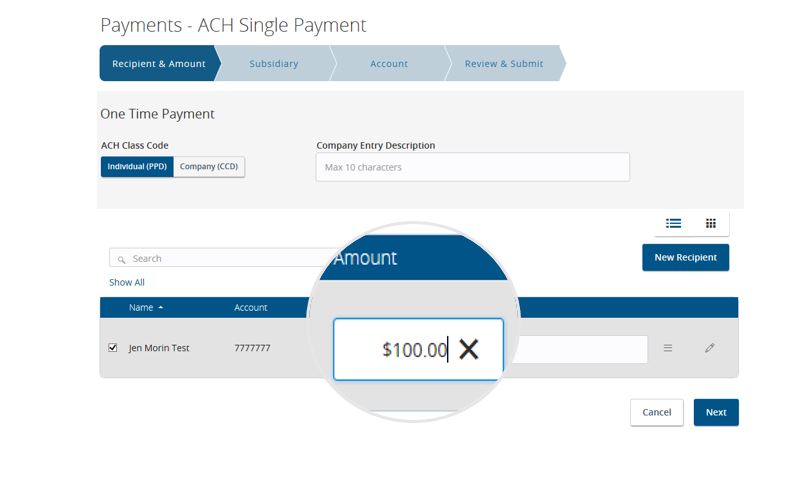
Step 2: Enter your Payment Details – Recipient and Amount
Select an ACH Class Code. You can choose to pay an Individual or a Company. Choose your recipient from the list of recipients you have already created, or create a new one by clicking “New Recipient.” Enter the payment amount and click “Next.”
-
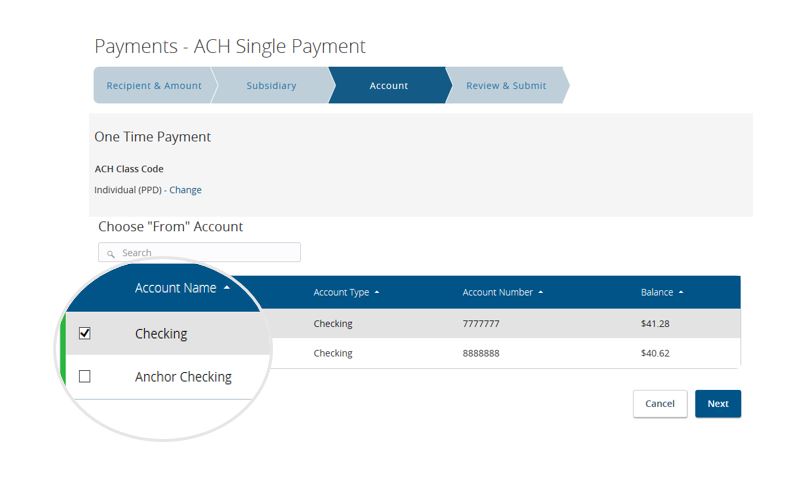
Step 3: Enter your Payment Details – Subsidiary and Account
Select a Subsidiary, or create a new one by clicking on “New Subsidiary.” Choosing a Subsidiary is optional, then click “Next,” and select which account you would like to pay from.
-
Step 4: Review and Submit your Payment
Choose an “Effective Date” for your payment by clicking on the calendar. Once you have selected a date, review your payment information carefully. If everything is correct, click “Draft” to draft your payment for approval, or “Submit” to schedule your payment to be processed. Your payment will be in the “Activity Center” to view at your convenience.

-
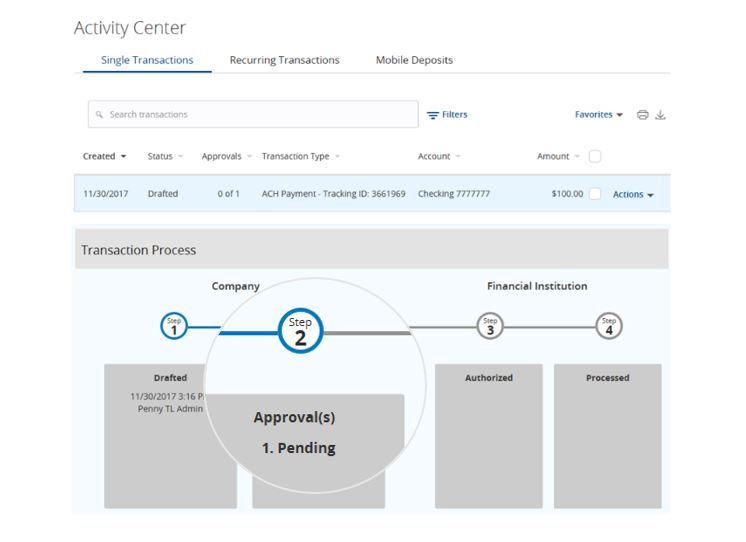
Step 5: Viewing and Approving Payments
Navigate to “Transactions” on the left navigation pane and click on “View Activity Center.” Your payment will either have a “Drafted” status if it needs to be approved, or an “Authorized” status if it is ready to process on the date you previous chose.